
Citizen Services
Driving Lessons
Campus (Coming Soon!)
Citizen Services
Driving Lessons
Campus (Coming Soon!)
Are you planning to travel Nigeria? Indians need to get Nigeria visa to travel for tourist, business, or study purposes.
There are different types of visa available on the basis of purpose of visit and validity. Before applying, you need to know their types, purpose of travel, documents required, and the entire visa processing process. Don't worry, Itzeazy will help you break it down and help you in Nigeria visa process.
Indians can get Nigeria eVisa as well as stamp visa through embassy. Indians can get visa on arrival for Nigeria for business purposes.
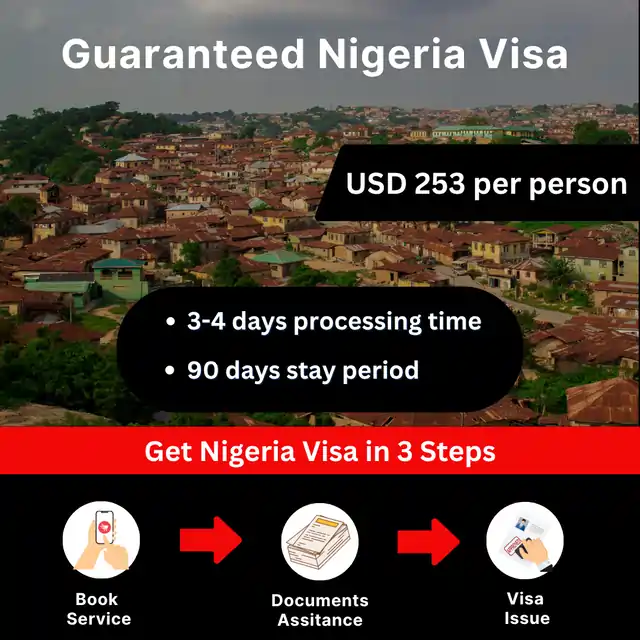
Steps to get Nigeria visa with Itzeazy
When to apply for Nigeria visa from India
Nigerian Visa processing time from India is 2-3 days. The processing time may differ depending on the type of visa. You should apply for Nigeria visa at least 30 days before the intended travel dates.
Types of Visa

Visa Requirements
Following are the documents required for Nigeria visa on the basis of their types:
Additional documents as per purpose of visit
Business Visa: For self-sponsored business or people who want to start their own business from scratch in Nigeria, they may not require Letter of Invitation but requires proof of sufficient funds
How To Apply
Visa Fees
Following is the Nigeria visa fees for Indians:
FAQ's
1. Do Indians need visa for Nigeria?
Yes,Indians must apply for Nigeria visa before traveling
2. How long does it take for Nigeria visa in India?
Nigeria visa processing time is 2-3 days in India.
3. Do I need an invitation letter for Nigeria visa?
You do not need invitition letter for Nigeria tourist visa. But for business visa, you require invitation letter from organization.
4. Can I visit Nigeria multiple times?
Yes, you can get multiple entry Nigeria visa for the multiple visits.
Things To Do
 Order Now